After selecting a document to view/edit from the Dashboard, you will be brought to the Document view where you can draft and edit documents. Although the interface of the Document view shares many similarities with traditional word processors, there are some key differences to note which we will go over in this article.
Components of the Document View
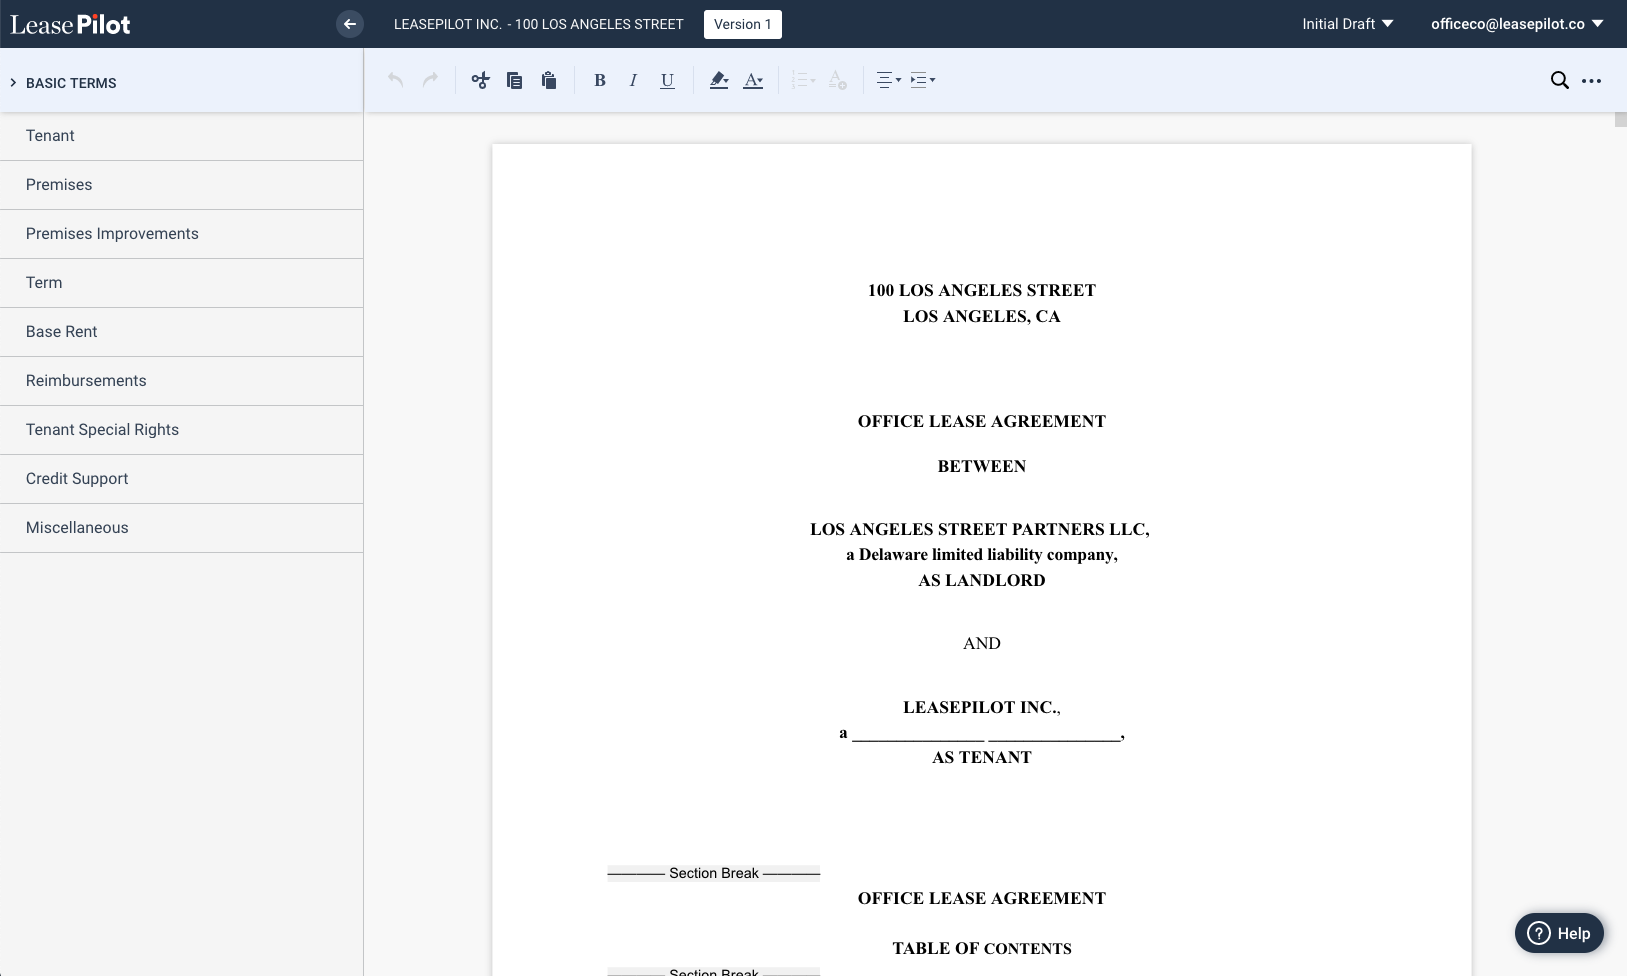
The Document View is made up of four primary parts as shown:

Status Bar

The purpose of the Status Bar is pretty much what you'd expect: a summary of the key information about your document. From left to right you will see:
- LeasePilot Logo: Clicking the LeasePilot logo will send you back to the main Dashboard
- Back Button (arrow): Clicking this arrow also sends you back to the main Dashboard
- Document Name: When you create the document, the name is automatically generated using the following structure: [TENANT NAME] - [ASSET NAME].
- Version Number: This displays what number version of your document you are on. Clicking on the version number will trigger a pop up window allowing you to create a new version.
- Save Status: LeasePilot saves your document automatically and continuously. We include a visual confirmation of this in the status bar.
- Document Status: The Document Status drowdown is a quick way to see or change the status of your document. Three options are available to you: Initial Draft, In Negotiation, and Final Draft.
- User Information: The email address of the current user will appear in the far-right corner of the Status Bar. Clicking it will give you the option to change your password or log out.
Toolbar

The Toolbar is always directly below the Status Bar and above the Document Preview. The Toolbar is where you will access the most common text editing features. From left to right you will see:
- Undo/Redo
- Cut/Copy/Paste
- Bold/Italic/Underline
- Highlight/Font Color
- Add list
- Add Article
- Left Align/Center/Right Align/Justify
- Indent Line/Indent Section
- Search
- More Actions (From here you can: Compare Documents, Create a New Version, Print, Download, Share or Abstract you Document)
Left-Hand Editor
On the left side of your screen you will see a list of "Basic Terms" followed by several different categories of terms. This is what we call the "Left Hand Editor" or (sometimes you'll hear us call it the "Editor" too). The editor is where your document automation lives.
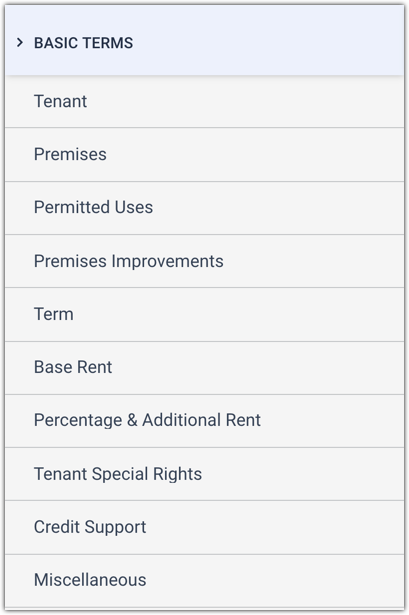
Note that your Left-Hand Editor may look different from the screenshot above depending on how your form is configured.
Cards
Within the Left Hand Editor there are a number of categories represented which we call cards. Clicking on any one of these (for example clicking on the "Tenant" card) will expand and reveal what automation you have available to you. As you start filling out the information within each card you will start to see these terms populate and which blocks of text appear within your document.

Comments
0 comments
Please sign in to leave a comment.