Version Control is a suite of features in LeasePilot that allow you to import/upload a redlined MS Word document directly into LeasePilot so that you can review, accept, or reject tenant changes during lease negotiation.
Why you should use Version Control
Here's the short answer: it's going to make your life easier. When you're looking at a lease in LeasePilot, sometimes it's easy to forget that you're not looking at a standard document, but a dynamic database of interconnected terms and variables. This underlying structure is connected to the Left-hand Editor you see during drafting, and it's what enables LeasePilot's automation. In other words, it's what makes LeasePilot so fast.
But when you convert a lease into MS Word format to share with a tenant, all of that underlying structure is lost (temporarily). Version Control gives you the ability to upload the tenant's requests back into LeasePilot without losing the automation in your lease. This has three primary benefits to you and your organization:
- You can use LeasePilot's automation tools for every draft
- You can generate automatic abstracts (if included in your plan)
- Integration with MRI or other ERP systems will maintain full functionality.
Key Concepts
Before diving into using Version Control, there are two key concepts that are important to understand: Changes and Requests.
Changes
In the context of Version Control, a Change is an individual insertion or deletion of text. The following example contains one insertion and one deletion:
The ships floated hung in the sky in much the same way that bricks don’t.
Since "floated" has been deleted and "hung" has been suggested, this means there are a total of two changes.
Types of changes
Simple change: Many of the changes the tenant will request are simple text edits that won't have repercussions anywhere else in the lease. For these types of changes, you can do a simple accept/reject.
Complex change: If the tenant requests a change to an important variable or other piece of automation which would have ripple effects throughout the lease, you won't be able to do a simple accept/reject. Instead, you'll be prompted to edit the lease variable. Details on this process are below in the tutorial section.
Requests
Version Control groups changes (usually all in the same paragraph) into a single Request. So in the example above, that would be considered one request (comprised of two changes).
Using Version Control
Now that you understand how Version Control works at a high level, let's run through a step-by-step example of how to use it. We'll assume that you've already completed the first draft in LeasePilot, shared it with the tenant, and they have sent back a redlined MS Word document.
Step 1: Create a new version
Navigate to the lease that you're going to be working on and in the top-right corner click the ••• icon in the top-right corner of your screen. From there, select the "Create a New Version" option. Then, enter a short description. In our case, we'll just write "Second draft" and click "Save and start new version".
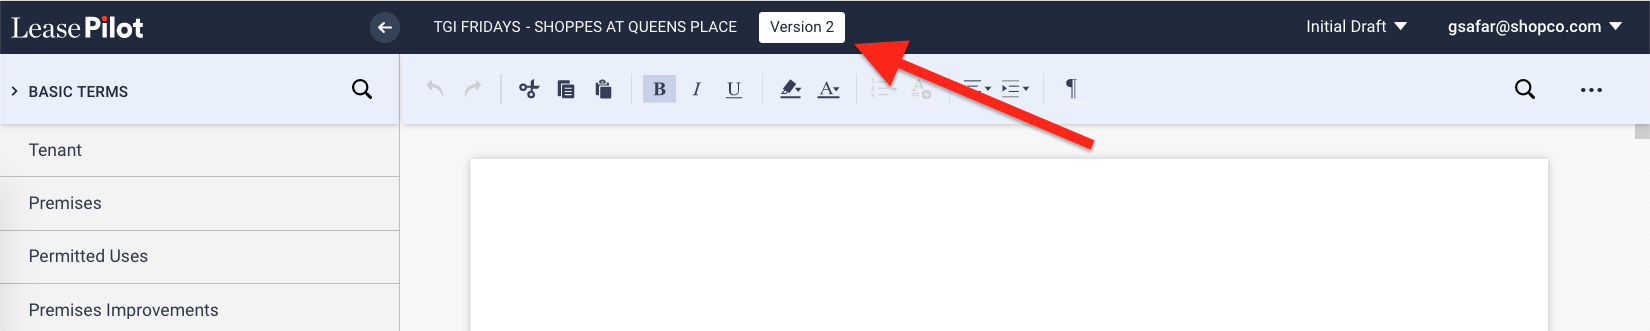
To confirm that a new version has been created, look at the version number appended to the lease title as shown here:
Note: you'll need to create a new version for each round of lease negotiation in order to use Version Control.
Step 2: Update the status to "In Negotiation"
In order to access the Version Control features, the lease needs to be considered "In Negotiation". To do this, click on the "Initial Draft" status dropdown and select "In Negotiation"
Note: for future revisions of this lease you can skip this step. The next time you'll update the status is after the lease is finalized.
Step 3: "Import Changes"
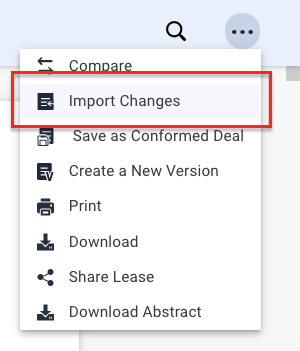
After ensuring that the lease status is In Negotiation, click on the ••• icon in the top-right corner and select "Import Changes"
You'll then be prompted to upload the tenant's redlined document. Once you've selected the correct document, click "Import" to start the process. This can take several minutes depending on the length and complexity of the changes.
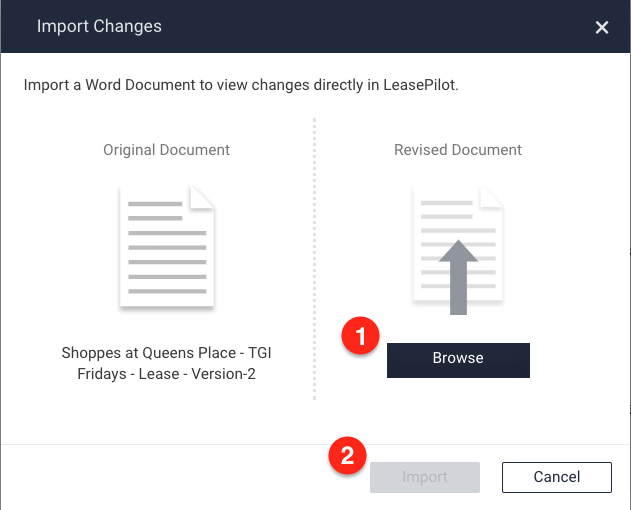
Above: to use the "Import Changes" dialog, first click Browse (1) and navigate to the redlined document. Next, click the Import button (2).
Step 4: Review Changes
Before diving in and taking action on changes, let's take a look at the Version Control Interface:
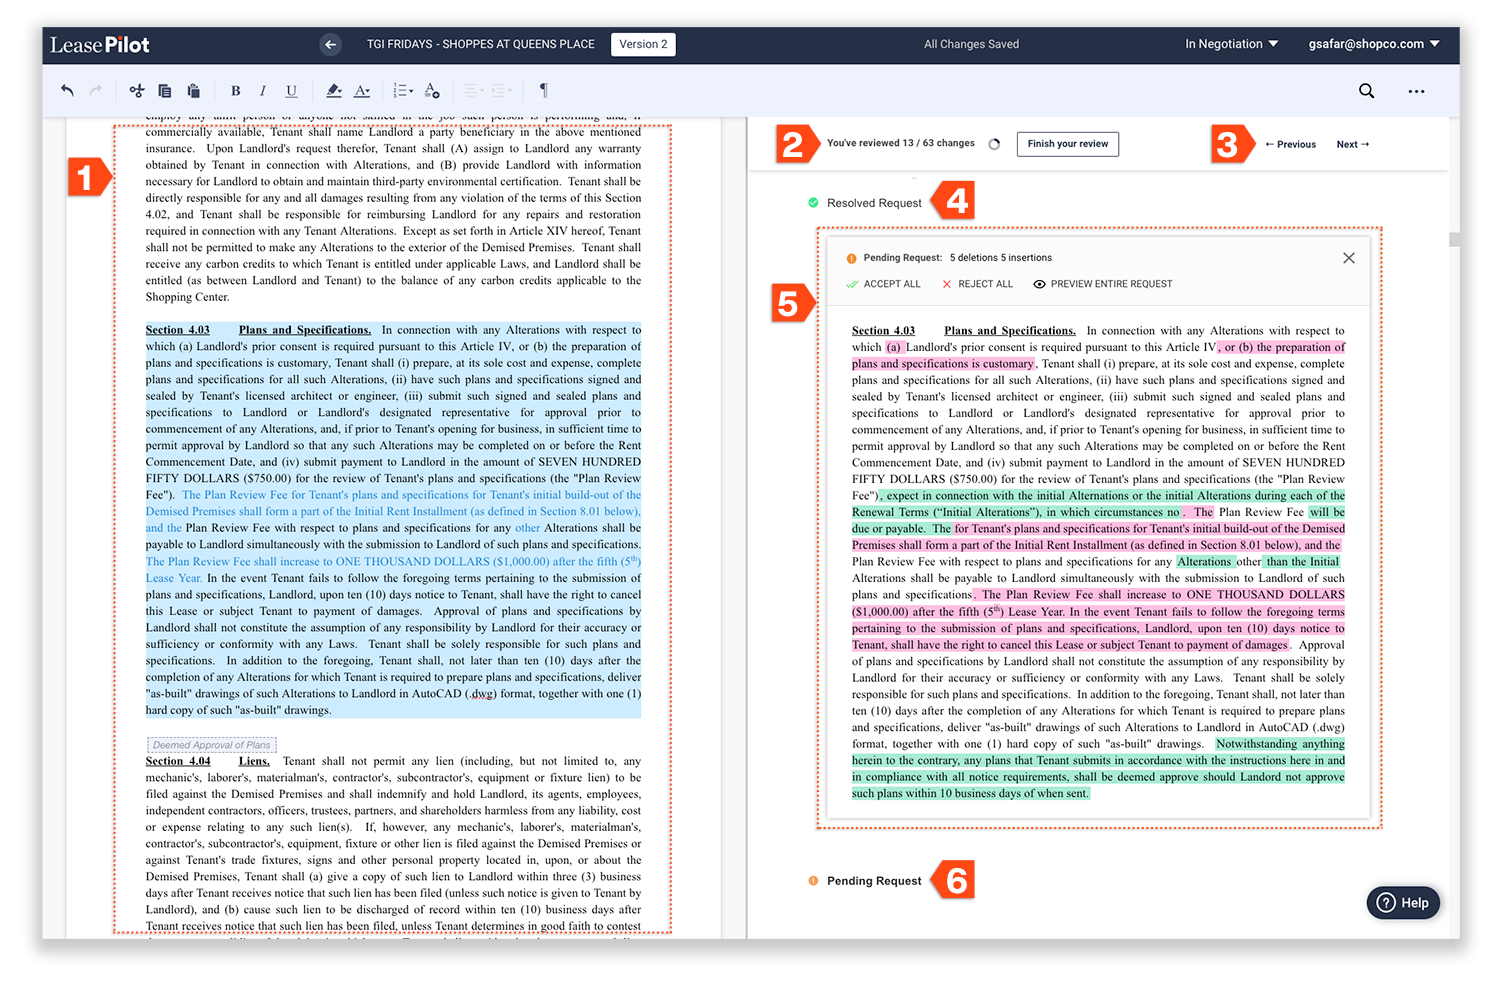
- Document content: When you first start Version Control, the content here will be exactly the same as the last version. But as you review, accept, and reject changes, those updates will be merged into your document and shown here.
- Review progress: This shows you how many changes have been requested and how many you've reviewed. The circle to the right gives a visual indication of your overall progress
- The Previous/Next buttons can be used to quickly navigate between requests.
- Reviewed Request (collapsed): This indicates that there was a request that has been reviewed/finished. If clicked, a window appears showing the full scope of changes in the request and the actions that you took when you reviewed it. Note that if you already have a request open, clicking another request will close it and open the one you clicked.
- Pending Request (expanded): When a request is expanded/opened, you'll be able to see the changes it contains. Deletions are highlighted in red, and insertions are highlighted in green. Note that the types of changes contained in a request will affect the actions available to you. In this screenshot, the request shown only contains simple changes. If a complex change were present in this request, your options would be different. We'll go over this in more detail later.
- Pending Request (collapsed): This indicates that there is a pending request. If clicked, the request will be expanded.
Resolving a Pending Request with Simple Changes
When a given request contains several changes, you can choose to take a single bulk action and accept or reject all changes at once, or you can decide what to do for each individual change.
Bulk resolution
When you open a Pending Request with more than one change, you'll see the bulk options Accept All and Reject All.
If you choose Accept All, every change contained in the Pending Request you're currently viewing will be merged into your document. If you choose Choosing Reject All will do the opposite.
Resolving requests individually
In cases where you want to accept some of the changes contained in a request and reject others, you can choose to handle each change individually. To do so, simply click the green or red text of the change and your options options will change to Accept and Reject.
Once you accept or reject an individual change LeasePilot will automatically select the next change for you (in other words, you don't have to manually click on the next change). Your next click on accept or reject will apply to the newly selected change. Watch below as all the changes in a single request are reviewed individually:
Note how before the first change is clicked, the "Accept All" and "Reject All" options are shown. But once a specific change is selected, the options switch to "Accept" and "Reject". To de-select a selected change, simply click on it a second time and your options will return to "Accept All" and "Reject All".
After a request has been resolved
When you choose to accept changes, they are immediately merged into your document. You can see this shown after "Accept All" is clicked in the Bulk Resolution animation above.
Also note that after insertions and deletions are accepted or rejected, several visual changes are taking place in the Request.
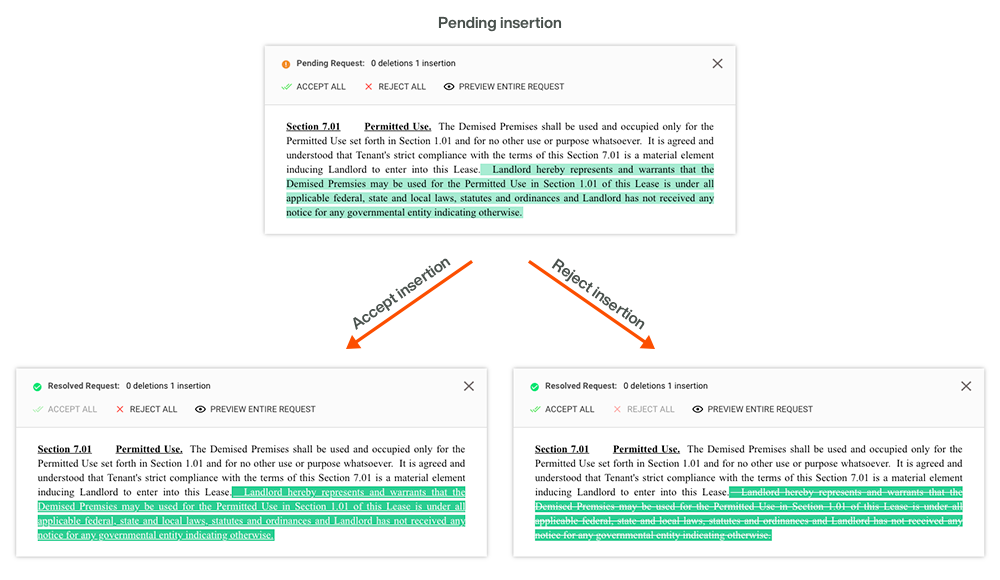
When an Insertion is accepted:
- The highlighter color will change from light green to dark green
- The text color will change to white
- The text will be underlined
- You will see the accepted text appear in your document to the left
When an Insertion is rejected:
- The highlighter color will change from light green to dark green
- The text color will change to white
- The text will have strikethrough formatting
- You will not see the text appear in your document on your left
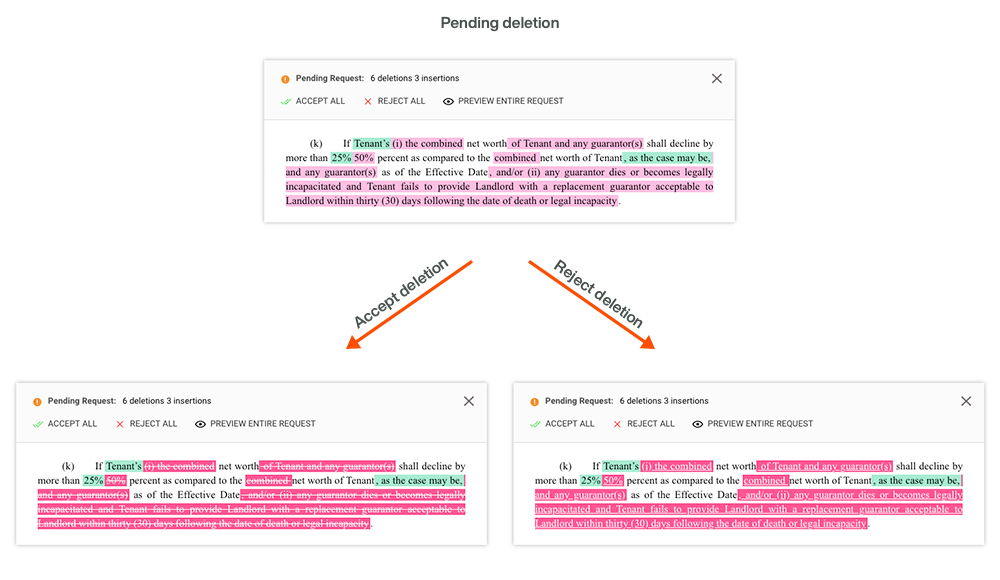
When a Deletion is accepted:
- The highlighter color will change from light pink to dark pink
- The text color will change to white
- The text will have strikethrough formatting
- You will see relevant original text in your document to the left disappear
When a Deletion is rejected:
- The highlighter color will change from light pink to dark pink
- The text color will change to white
- The text will be underlined
- The relevant original text in your document to the left will remain
As a final note, if you make a mistake or change your mind about an accepted or rejected change, you can reverse the decision simply by clicking the other option and your request will update automatically
Resolving a Pending Request with Complex Changes
When a request contains a change to one of the core variables of your lease, you won't be able to accept or reject it right away. This is because the request affects the underlying automation of your lease. In these cases, you'll see the option to "Adjust Manually".
When clicked, you'll see an automation popup over your document to the left. To incorporate the change request, make your adjustments in the popup. If you do not want to make the change, simply leave it alone.
In either case, once you're done, just click "Mark All as Resolved" in the pending request.
Previewing a Request
In cases where there are many changes in a single request, all of the markup can make reading and understanding the request difficult. To help with this, we've included an option to preview what the requested changes would look like if you were to accept them.
Note that when you preview a request, no actual changes are merged into the document.
Step 5: Finish your Review
After you've reviewed all the changes, click the "Finish your review" button. All changes made during your review will be fully applied and you'll be returned to the standard edit screen where you can share your lease or continue editing.
Comments
0 comments
Please sign in to leave a comment.